
Despite the fact that I grew up in the 90’s, there are a number of things I didn’t really experience during that decade. I wasn’t a huge fan of Power Rangers or Teenage Mutant Ninja Turtles. I never owned a Walkman. And I was too busy devouring Anne of Green Gables to even consider cracking open one of the Baby-Sitters Club books. (Oh but Sweet Valley High? Now that’s a different story…)
I’m thinking about all this since a huge wave of 90’s nostalgia seems to be crashing over America right now, especially when it comes to movies and TV shows. All the reruns, remakes, and reunions tend to evoke a whole lot of excitement– unless you’ve never seen the originals. It was with that in mind that Gabe and I sat down to watch Jurassic Park on Friday night. The first one.
Yeah, I’d never seen the original Jurassic Park movie. (Don’t look at me that way, friendly but bewildered cashier at Whole Foods.) In my defense, it would have scared the bejeezus out of me as a kid. But I’m slightly less jumpy nowadays, so I decided it was time. (The verdict? Pretty good movie, but even better music.)
So if you’re jumping on the 90’s nostalgia bandwagon and looking for a delightful snack to munch on while binge-watching Seinfeld or anticipating the Full House remake, I highly suggest this spicy honey caramel corn. It has all the sweetness of classic caramel corn, but the addition of cayenne pepper puts this treat firmly in the grownup camp. Even if your entertainment choices are bringing you right back to childhood.

••••••••••••••••••••••••••••••••••••••••••••••••••••••••••••••••••••••••
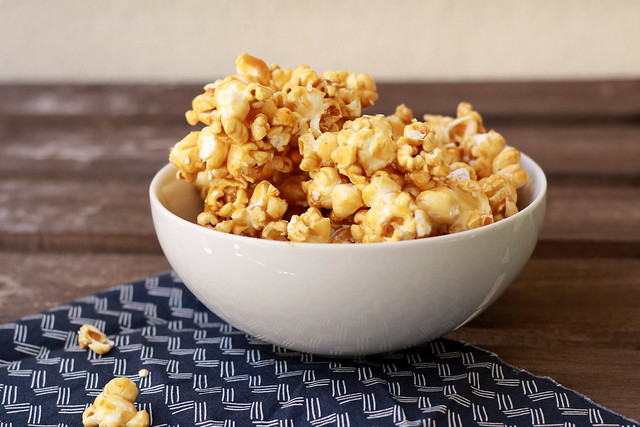
Spicy Honey Caramel Corn
- 1 cup unpopped popcorn
- 1/4-1/2 tsp. cayenne pepper*
- 1/2 tsp. baking soda
- 1 cup (two sticks) unsalted butter
- 1/2 cup honey
- 2 cups lightly packed brown sugar
- 1 tsp. kosher salt
- 1 tsp. vanilla extract
Preheat oven to 250° F with two racks placed near the middle of the oven. Line two baking sheets with parchment paper and set aside.
Pop the popcorn on the stove or in a popcorn maker. (I love my air popper.) Set it aside in the largest bowl or container you have, keeping in mind that you’ll need room to toss the popcorn with the caramel mixture. I often use a big stockpot, but you can also use two bowls.
In a small bowl, whisk together cayenne and baking soda. Set aside.
Over medium heat, melt butter in a two-quart saucepan. Stir in honey, brown sugar, and salt. Bring to a boil over medium-high heat, stirring frequently. Once the mixture begins boiling, let it continue to boil for five minutes without stirring. Remove from heat and carefully add the baking soda mixture and vanilla extract. The caramel will bubble up violently and might splatter, so be sure to stand back! When it has stopped splattering, stir the caramel carefully to make sure the vanilla and baking soda mixture are evenly mixed in.
Pour the caramel over the popcorn and stir until the popcorn is well coated. Be very careful not to touch the caramel– it’s hot! Evenly scoop the popcorn onto the two baking sheets. Bake for 40-50 minutes, stirring every 10-15 minutes or so. Test the popcorn for doneness by cooling a small piece and tasting it. The popcorn is done when it’s perfectly crispy, not mushy at all. If it’s still soft, keep baking!
Remove from oven and let cool completely on baking sheets. Store in an airtight container for up to two weeks.
* Use 1/4 tsp. cayenne for popcorn that has just a hint of spice. Use more if you like things hotter!
Source: Adapted from Annie’s Eats and also inspired by Smitten Kitchen.


